
UFC 5 striking offense: every tool
Straights intercept, hooks punish lateral movement, uppercuts counter leaning and takedowns, overhands break a turtle — and leg kicks never heal.
Striking offense in UFC 5 is not one system. It is four: punches, kicks, spinning attacks and the clinch entry, each with its own stamina cost, its own vulnerability window and its own answer to what the opponent is doing. EA publishes them as separate tips pages; this page puts them in the order you will actually use them in a fight.
Punches: four tools, four jobs
Jabs and straights are the measuring stick. Their real job is interception: throw a straight into an opponent who is loading up a hook or an overhand and you land first. Holding the body modifier turns the same button into a body straight, which is how you start draining body health without leaving range. The official tips page for straights is explicit that they are "mostly an intercepting strike or a start to a combination" — not a damage tool on their own.
Hooks are close-range damage. They exist to punish lateral movement: an opponent who circles left or right repeatedly walks into the hook on that side. Body hooks chain into each other better than any other punch, which makes them the backbone of short combinations in the pocket.
Uppercuts answer two specific things — an opponent leaning forward, and an opponent shooting for a takedown. A body uppercut is one of the few single strikes that does meaningful damage on its own.
Overhands are the most damaging punches and the most expensive. Use them as a block-breaker: a few jabs first, then over the top of a turtled guard.
Kicks: where the real damage lives
| Strike | Xbox | PS5 | What it is for |
|---|---|---|---|
| Leg kick | A or B | X or Circle | Permanent leg damage that never fully heals |
| Body roundhouse | LT + A / LT + B | L2 + X / L2 + Circle | Body damage plus Maximum Stamina drain |
| Head kick | LB + A / LB + B | L1 + X / L1 + Circle | Fight-ending damage, high risk |
| Cage kick (flying knee) | LB + RT + B | L1 + R2 + Circle | Only with the opponent's back to the cage |
| Cage kick (spinning) | LB + RB + A | L1 + R1 + X | Parallel to the cage, stationary |
| Showtime kick | LB + RB + B | L1 + R1 + Circle | Parallel to the cage, stationary |
| Push for distance | RT + X + A | R2 + Square + X | Creates space from a pressure fighter |
The leg kick deserves its own paragraph. Leg damage is the only damage type in UFC 5 that does not recover over time, so kicks landed in round one are still there in round five. The counter is equally absolute: hold block plus the low modifier as the kick arrives and you check it, which damages the thrower instead. A leg-kick-heavy fighter who becomes predictable ends up losing the leg they were attacking.
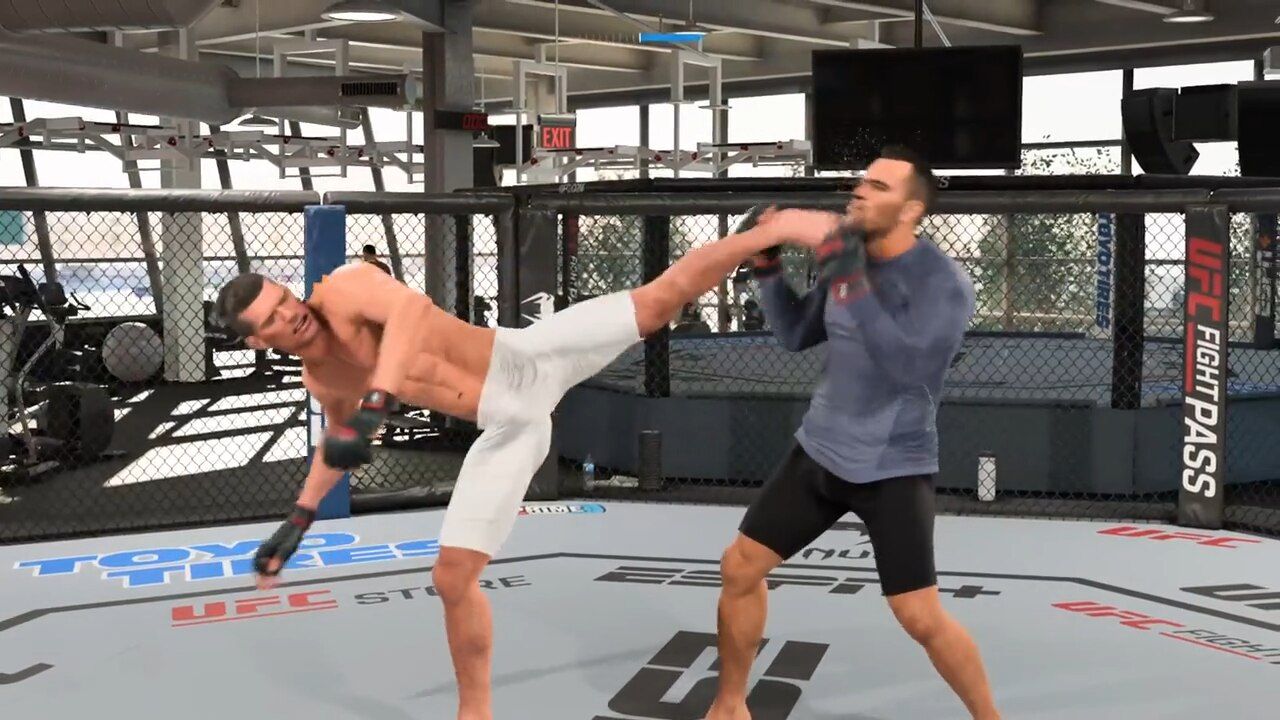
Body roundhouses are the second-best investment. They drain body health and they eat Maximum Stamina, so even a partially blocked one costs the opponent something permanent. Head kicks are the highest-damage strike in the stand-up game and carry the highest Strike Vulnerability — throw them as counters, not as openers.
Cage kicks are fighter-specific: only fighters with those strikes can throw them (EA names Anthony Pettis and Jose Aldo), and they need your back, side or front against the cage plus a stationary stance.
Spinning attacks: how the spin actually works
A spinning strike is two inputs, not one. First you spin, then you attack.
Rear spin is A + B (Xbox) or X + Circle (PS5); lead spin adds the strike modifier. Once the spin starts, the attack button decides the strike: Y backfist, X spinning elbow, B spinning back kick to the body, A spinning heel kick to the head.
Advanced kicks layer another input on top. The Lead 360 Tornado Kick is A + B then LB + A; the back spinning heel kick is A + B then B. Both are spectacular and both are traps: Strike Vulnerability is very high during the animation, and grapple advantage swings to your opponent, which means a missed spinning kick is usually followed by a takedown you cannot stop.
Strike Vulnerability: the rule behind every trade
While you are throwing a strike, your own vulnerability rises. You take more damage if you are hit mid-animation. This single rule explains most of what looks like luck in stand-up exchanges: the fighter who throws second, into the opponent's animation, wins the trade even with a weaker strike.
Clinch offense: the fifth system
The clinch is a full close-range phase rather than a transitional state. Enter it by holding RB and tapping X or Y — whichever is your lead hand — or with the single collar clinch input (X + A on Xbox, Square + X on PS5).
Inside the clinch you have four jobs and the clock is running: move the opponent with the left stick, land knees and elbows, advance position, or throw. Clinch takedowns use the same single-leg and double-leg inputs as the stand-up game, with the left stick as a modifier for which leg you attack.
The clinch does not last. EA's tips page says it directly: "The Clinch won't last forever, so time your strikes and attempt your transitions quickly." Treat it as a three-second window, not a resting position.
Putting it together: three combinations that work
- Jab, jab, overhand. Two straights to make the opponent commit the guard, then the overhand through it. Costs a lot of stamina; lands when they stop moving.
- Leg kick, body kick, head kick. Same leg, three heights. The first two are cheap and build the read; the third only works because the opponent has been trained to block low.
- Straight as an intercept, then hook. Throw the straight into their hook or overhand animation, then follow with the hook on the side they leaned to.
None of these need a spinning attack or a cage kick. The advanced tools are for specific situations and cost proportionally more when they miss.
Next: Striking defense · Clinch guide · Damage system