
UFC 5 striking defense: five answers
UFC 5's defensive system is the part most players skip, and it is the part that decides most fights below the top rank. Blocking is not a single held button: it has a lane, a durability and a failure state. Add head movement, lunges, catch kicks and feints and you have five separate answers to five different attacks.
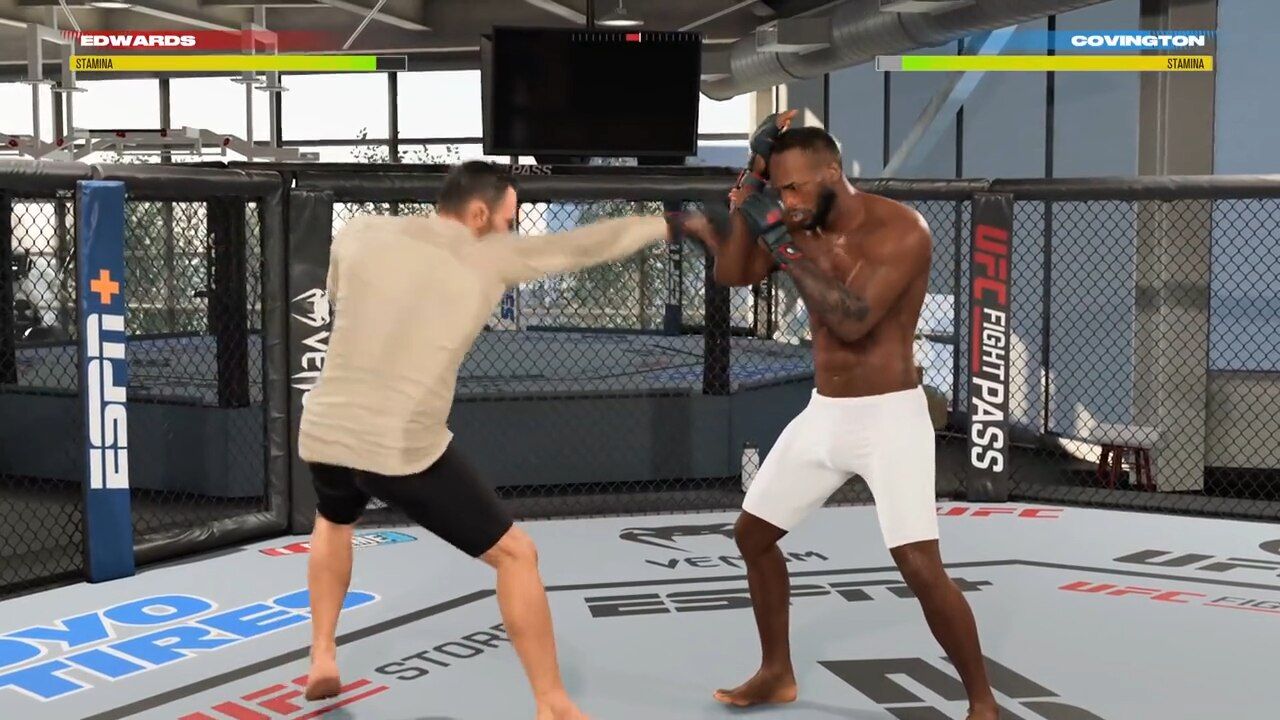
Blocking: two lanes and a meter that is not shown
Hold block to stop head strikes. Hold block plus the body modifier to stop body strikes. That much is in the Training Manual. What the game does not spell out is that the guard itself degrades: Block Damage accumulates the more strikes you block in a row, and blocking multiple frontal strikes leaves you open to round strikes — hooks and kicks that come around the guard — while blocking those leaves you open to the front.
The rate at which the guard weakens is controlled by the Blocking attribute. Two fighters holding block against the same combination are not in the same position.
When the guard starts drifting it is visible: your fighter braces toward wherever the majority of the strikes are coming from, which opens the opposite lane. The answer is not to block harder. It is to move away, reset the guard, and come back in.
Head movement: avoidance without leaving range
Move the right stick in any direction to slip. Head movement is the only defensive tool that keeps you inside striking range, which is why it converts directly into counters: slip a hook and the same hand is already loaded.
The game builds combinations around this. Move your head to the right and the left hook counters fastest; move your head back and straights counter fastest. Practice Mode is where you find the full list for your fighter, because the available combinations differ by move set.
Swaying has a direction rule that punishes guessing. Sway into a hook and you take significantly more damage; sway away from it and you reduce what lands. Head movement is a read, not a dodge button.
Lunges: distance control with a cost
| Move | Xbox | PS5 | Use |
|---|---|---|---|
| Minor lunge | Flick left stick | Flick left stick | Small reposition, low commitment |
| Major lunge | LB + left stick | L1 + left stick | Big step out of a combination |
| Pivot lunge | LB + right stick | L1 + right stick | Circle off the cage or out of a corner |
| Signature evade | LB + flick left stick | L1 + flick left stick | Fighter-specific, often the best escape |
You can combine head movement and a lunge: lean in a direction with the right stick, then hold the modifier and tap the right stick in the same direction. The result is a larger, faster evasion than either input alone.
Catch kicks: turning their kick into your round
Catching is the highest-value defensive input in the game because it does not just stop the attack — it starts yours. Press block plus the body modifier as a body kick arrives and, if the timing is right, your fighter catches it.
What you can do next depends on which kick you caught.
| Caught | Your options |
|---|---|
| Front kick to the body | Elbows, kicks, or a takedown; advancing tower trip available |
| Knee to the body | Punches or a takedown only |
| Roundhouse to the body | Punches, breaking punches, kicks, tower trip |
| Your kick gets caught | Punches (roundhouse only), retreat with left stick, or block the takedown |
The asymmetry matters: a caught front kick gives you the full offensive menu, a caught knee gives you almost nothing. Catching a knee is still worth it, because the alternative is eating it.
Checking leg kicks
Hold block plus the low modifier as a leg kick arrives and you check it. The damage goes to the thrower's leg instead of yours. Do it often enough and the leg-kick specialist knocks themselves out of the fight, which is why the leg kick is both the best investment and the easiest trap in the stand-up game.
Feints: the input nobody uses
Tap block immediately after throwing a strike and the strike is cancelled mid-animation. That is a feint, and it does two things: it makes the opponent commit a defensive input against an attack that is not coming, and it lets you cancel a kick you already know will miss before the vulnerability window opens.
Feinting costs almost nothing. Throwing a head kick into a whiff costs a chunk of Maximum Stamina and usually a takedown.
Defence against the clinch
The clinch entry is defended with the right stick, not the block button: move the right stick in any direction as the opponent tries to grab. Inside the clinch, the escape is the left stick to the left, and the takedown or throw defence is block plus the takedown modifier.
Most players defend the clinch by mashing block, which does nothing. If you take one thing from this page, take that.
A defensive drill that actually transfers
Set Practice Mode to a striking-only opponent and spend three minutes without throwing a single strike. Block, slip, lunge, catch. You will lose the round on damage and you will learn more about timing than an hour of trading.
Then add one rule: after every defensive input, throw exactly one counter. Defensive reads only become offence when they are attached to a shot you already know how to throw.
Next: Striking offense · Stamina and health · Tips and tricks