
UFC 5 ground defense: stay off your back
Ground defence in UFC 5 is three separate skills that share one trigger. Denying a takedown, defending a transition and blocking ground and pound all start with a held button, and all three punish late inputs in different ways. Learn the timing windows and the bottom of the game stops being a panic state.
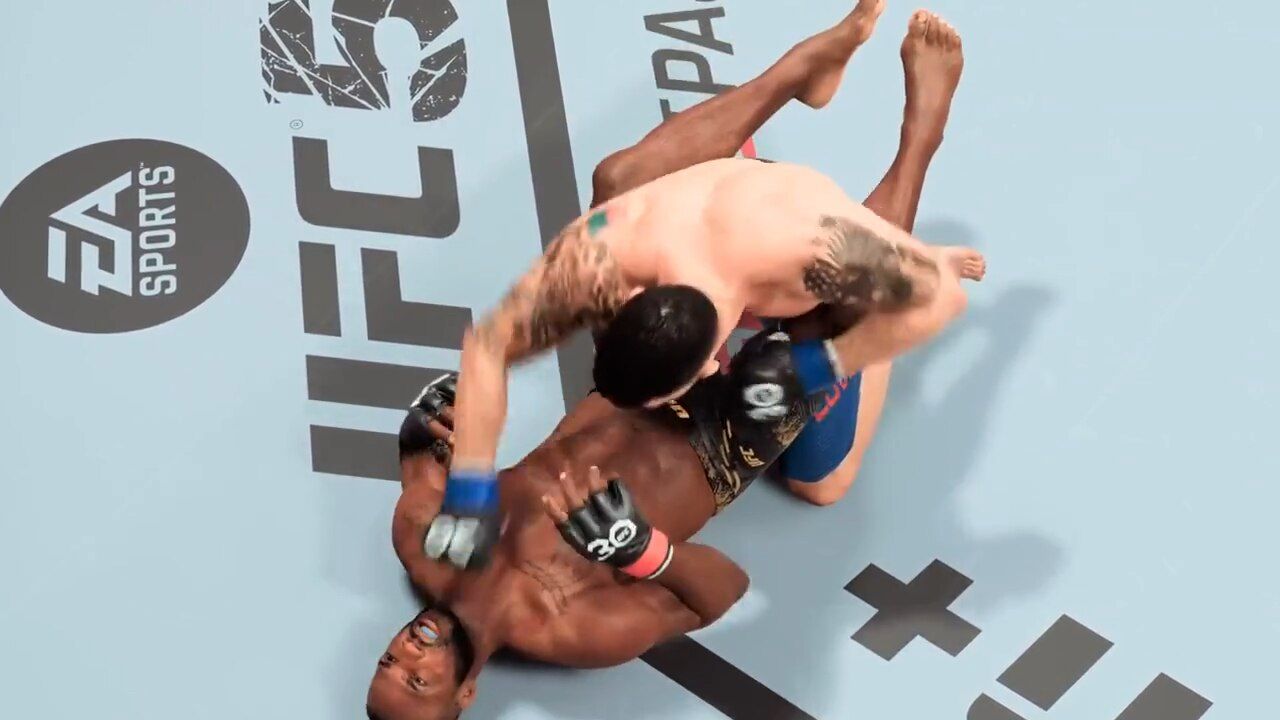
Denying a takedown
Hold block plus the body modifier as the shot comes in — LT + RT on Xbox, L2 + R2 on PS5. That is the whole input. What varies is the timing, and the timing decides what happens next.
- Early denial: you end up in a dominant clinch position. This is the best outcome in the ground game and it comes from reading the shot, not reacting to it.
- Late denial: the attempt becomes a takedown drive. Your opponent can keep pushing forward and change the direction of the shot with left stick up or down; you have to match each change with a flick of your own left stick while still holding the denial input.
- No denial: you are on your back, and everything else on this page is now the fight.
Pre-emptive denial and the reversals
Two reversal inputs sit on top of the basic denial, and both have a very tight window.
| Reversal | Input | Requirement |
|---|---|---|
| Judo reversal | RB + LT + RT / R1 + L2 + R2 | Fighter must have a judo reversal in their move set |
| Submission reversal | LB + LT + RT / L1 + L2 + R2 | Fighter must have a submission reversal in their move set |
If your fighter does not have the move, the same input gives you a normal denial instead — so the input is never wasted, it just does less.
Because the window is so short, the recommended technique is pre-emptive denial: hold the denial input before you believe the shot is coming. It drops your hands, which is a real cost, but it converts every takedown into either a denial or a reversal at the earliest possible frame. Against a wrestler who shoots off your strikes, that trade is usually worth it.
Defending transitions
On the ground, a transition attempt is defended by holding block and matching the direction the opponent is moving, with either stick. Match it quickly enough and you deny the transition; match it extremely quickly in the correct direction and you reverse position instead.
The timing required is not fixed. It depends on how ambitious the transition is, the ratings of both fighters, and the situation — which is why the same input sometimes feels instant and sometimes feels like it does nothing.
There is an assist for this. Defensive Grapple Assist shows an arrow telling you which way to push as the opponent transitions, but EA's own documentation notes the arrows do not appear on Legendary difficulty or in online matches. Use it to learn the directions, then turn it off before you rely on it.
Cancelling a transition
Press a direction and then block to cancel your own transition. This sounds pointless and is one of the strongest tools on the bottom.
If the opponent defends the transition you cancelled, they are timed out of defending the next one — briefly. That window is small, and the whole play only works if you are quick, but it converts a predictable escape into a free position change. It is also the cleanest answer to a top player who is reading your transitions: cancel, let them commit, then go the other way.
Ground and pound defence
Blocking on the ground uses the same logic as standing: block stops head strikes, block plus the body modifier stops body strikes. In very tight positions strikes cannot be blocked at all, but they also do very little damage — the dangerous ground and pound comes from postured positions where you can block.
Two evasions matter more than blocking once the opponent postures up:
| Threat | Answer | Input |
|---|---|---|
| Straights | Head movement to either side | Right stick left or right |
| Hooks | Post against them | LB + right stick left or right |
| Body strikes | Block low | LT + RT / L2 + R2 |
Direction matters for the same reason it does standing. Swaying into a hook takes significantly more damage; swaying away reduces it. Evading straights with head movement also drains more of the attacker's stamina than blocking does, which is why a bottom player who slips instead of turtling eventually gets the top player tired.
Building grapple advantage while defending
Defence generates offence indirectly. You gain grapple advantage when you deny a transition, when you land strikes from the bottom, when the opponent is mid-strike on the ground, and when you carry momentum from a previous transition. That advantage is what makes your next escape attempt fast enough to succeed.
This is the difference between a bottom player who survives and one who escapes: the survivor is not spamming the escape input, they are defending two transitions, banking advantage, and then exploding once.
The bottom-player checklist
- Never hold a single direction on the stick. A held direction is a read for the top player.
- Deny one transition before attempting your own. The advantage swing is worth more than the position.
- Block the postured strikes, slip the straights. Turtling through ground and pound is how cuts and doctor stoppages happen.
- Use the get-up input when you have space. From the bottom, the stand-up input works when the opponent is not pinning you, and standing is a legitimate escape — not a failure.
What the game does not tell you
The defensive grapple assist arrows disappear in online play and on Legendary, which means the players who learned with the assist are learning a different game from the ones who did not. If you plan to play online, turn the assist off early and accept the extra losses while you learn the directions.
The second: every defensive input is a hold, not a tap. Tapping the denial trigger for a frame does nothing, and the animation gives no feedback — the fighter simply does not react.
Next: Ground offense · Submissions · Damage system